Cheeseburger Menu
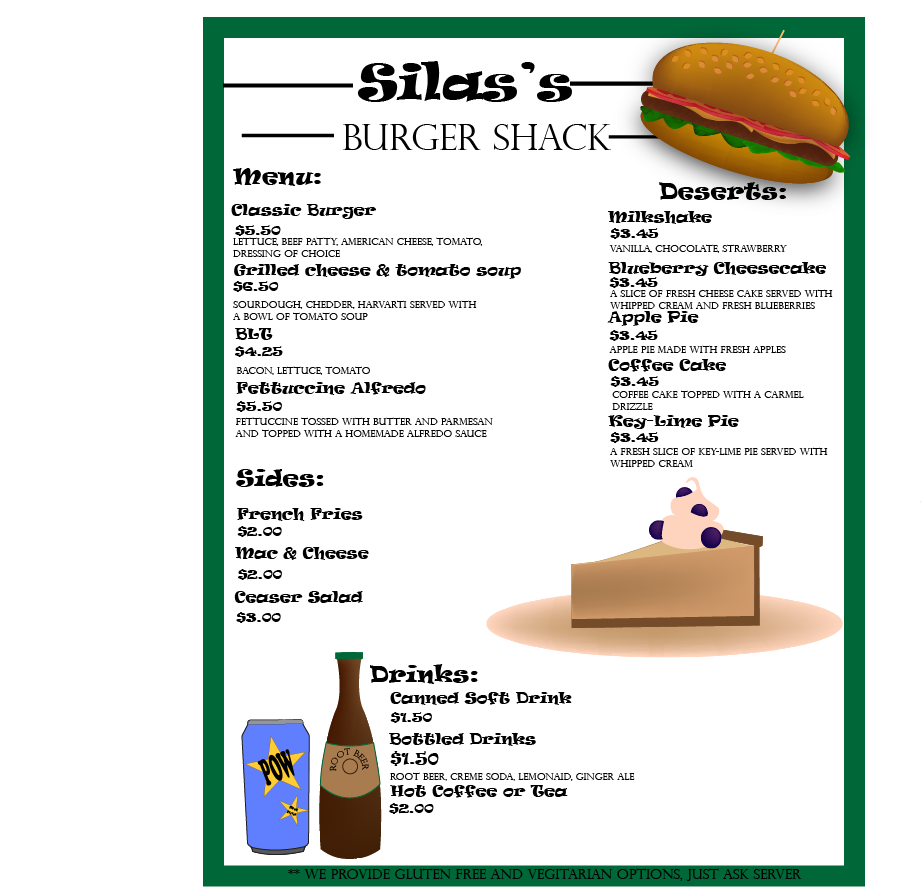
While working on this assignment, I learned how to use the gradient and mesh tools, as well as familiarized myself with the pen tool a bit more. The design decisions I made for this project included font, layout, and colors. I chose a fun, but hopefully readable font, and I tried to keep my colors simple. For my menu items I made two sodas and a slice of cheesecake. The two drinks were used to fill empty space, ant the cheesecake was for fun because I was hungry. I used the color choices I did to add a simple yet realistic feel to the menu.
PMB: 4 Corners Scene
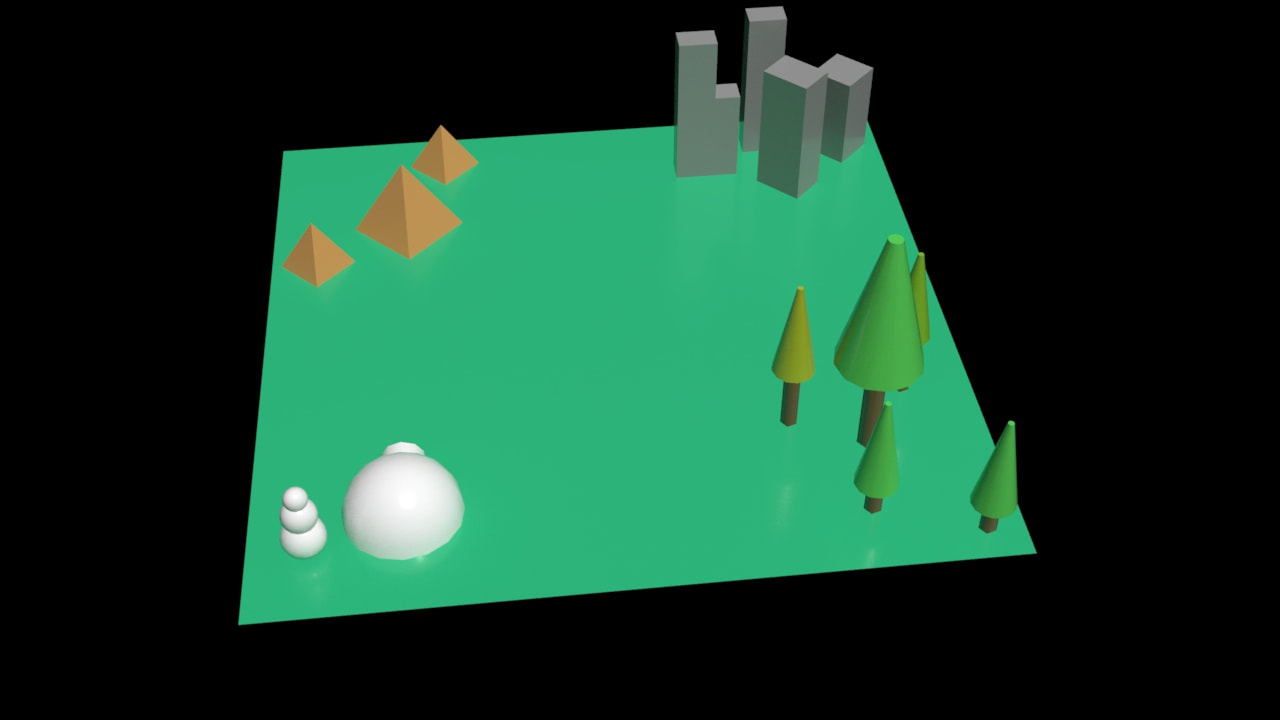
While creating this scene, I was given precise measurements for where to put everything. I used the keyboard measurements tab to input everything to the exact amount, and then I would move it to the location it was supposed to go in. for precise transformations, I used the X,Y,Z tabs at the bottom of the screen to submit the exact place I wanted the objects to be in the scene.
Storyboard: Cutting Onions
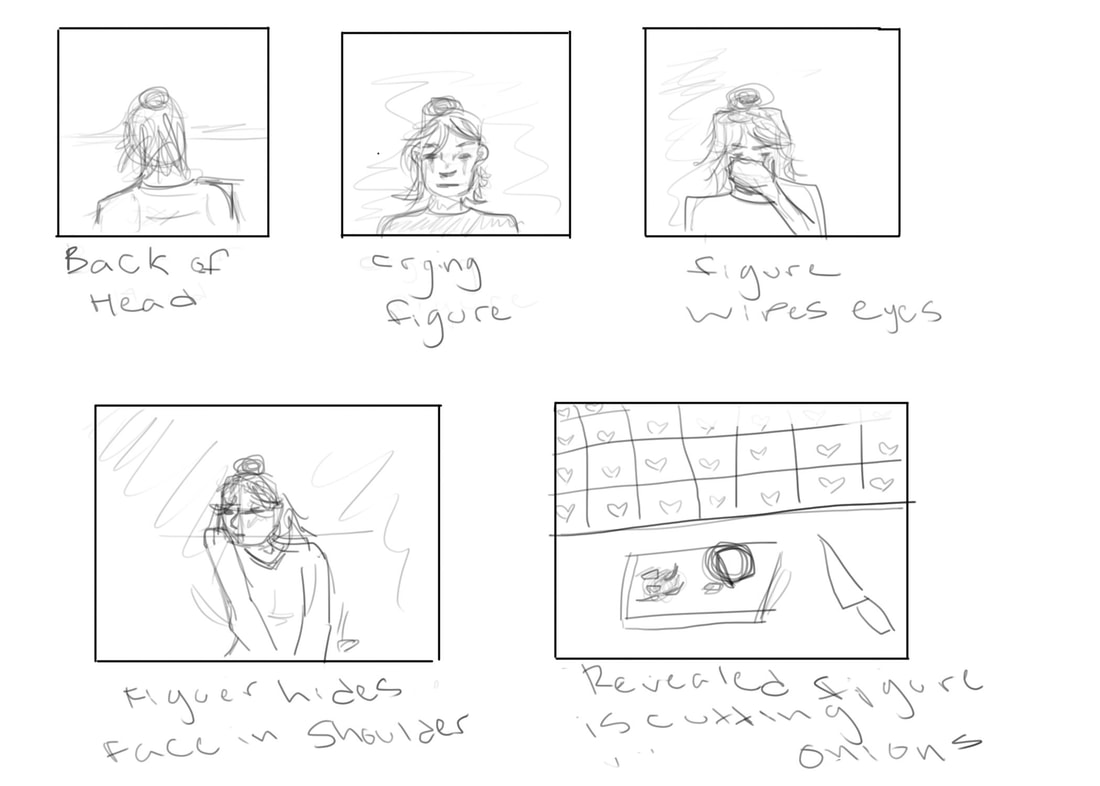
My character is introduced to the audience with their back turned. When the camera angle switches, it can be seen that they are crying. Once they wipe their tears they hide their face in their shoulder, then, in the final panel it is revealed they were simply cutting an onion. While making this sketch, I had to figure out how to create a dramatic build up to the reveal that wasn't as big as everyone thought it was. I wanted it to be anticlimactic, and I think I succeeded.
Design Matrix
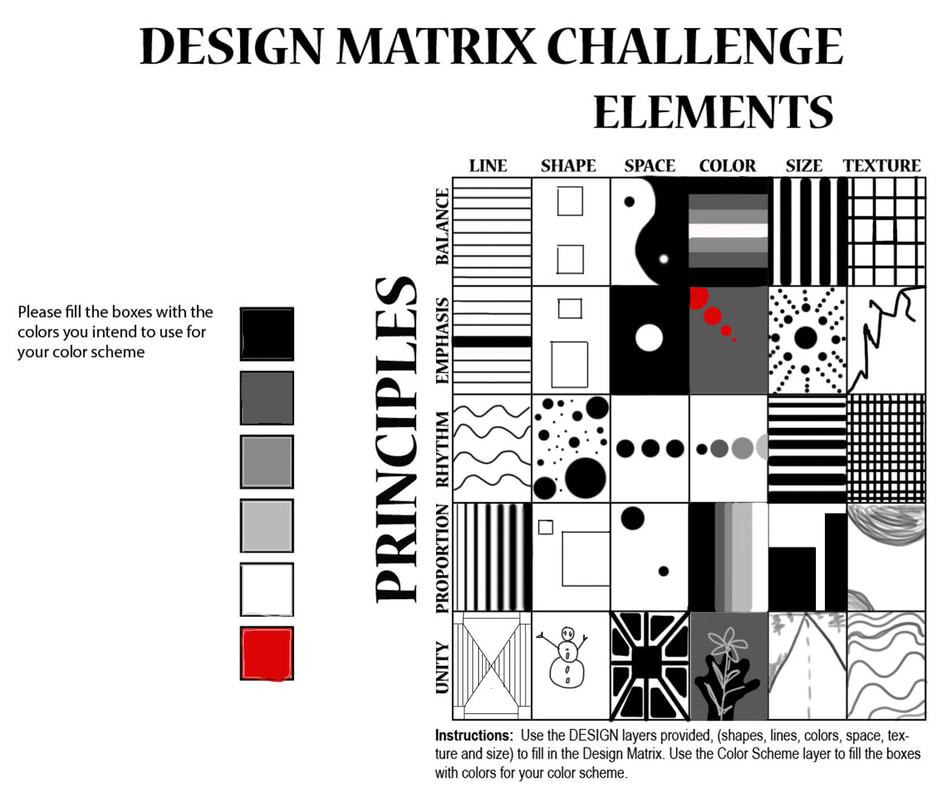
I demonstrated each principal of design in the columns provided. Starting with balance, I created a balanced picture using each element, and placed them according to which element I was working with. With emphasis, I tried to make an obvious central point and draw the viewers eyes to that. For rhythm, I tried to show movement while keeping the image organized. Proportion I used two objects and tried to show their relation to each other. Unity involved blending all the principals together to get one big scene, which was pretty fun.
Character Sketches
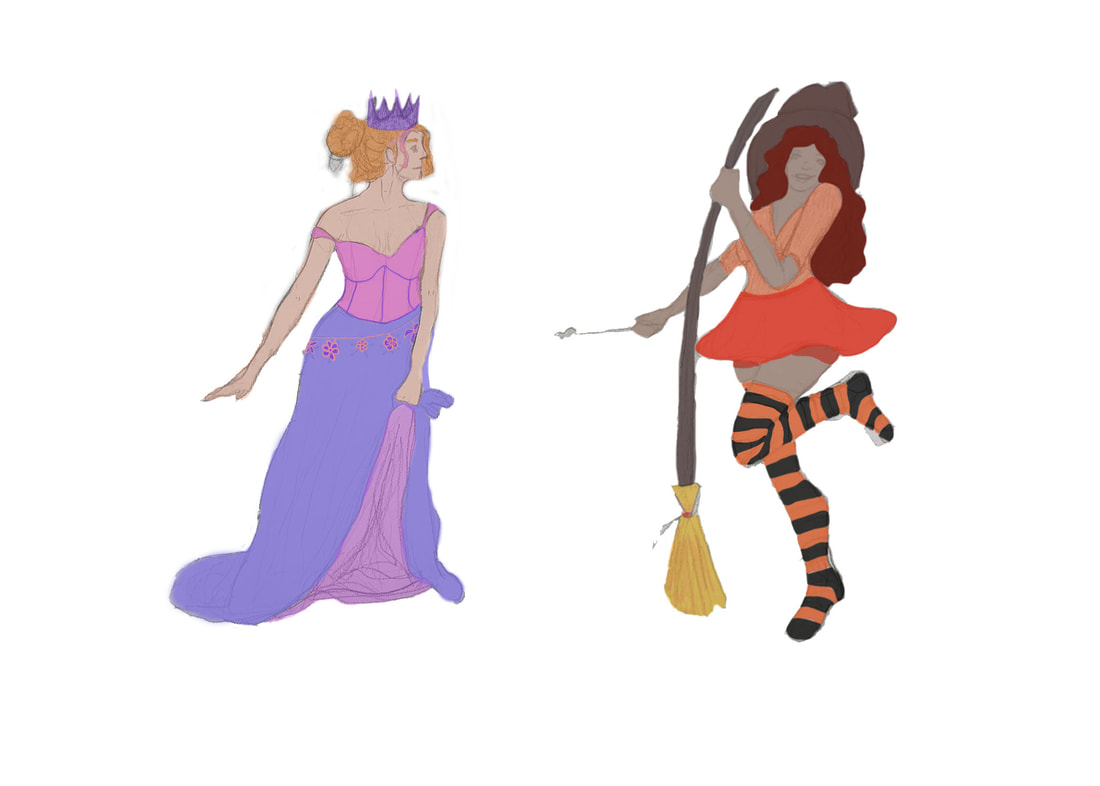
My two characters are a princess and a witch. The princess is dressed in pinks and purples, which show off her calming personality. She holds her dress up and keeps her face tilted to the side like she is posing for a picture. the sleeve falling off the shoulder shows her unprofessional side, as does the pink streak in her hair. She is known to always in a rush and care very deeply for her people. The witch is placed in a much more fun pose, and she is known for the deals she makes with people. She wears mostly oranges to fit into the stereotypical witch look, and she almost never has shoes on. She lives on the very edge of the princesses kingdom, and the two can often be found walking around the royal gardens picking herbs. Although they live very different lives, they consider each other close friends, and look forward to the time they spend in company with each other.
Masking Activity: Fairy in a Garden
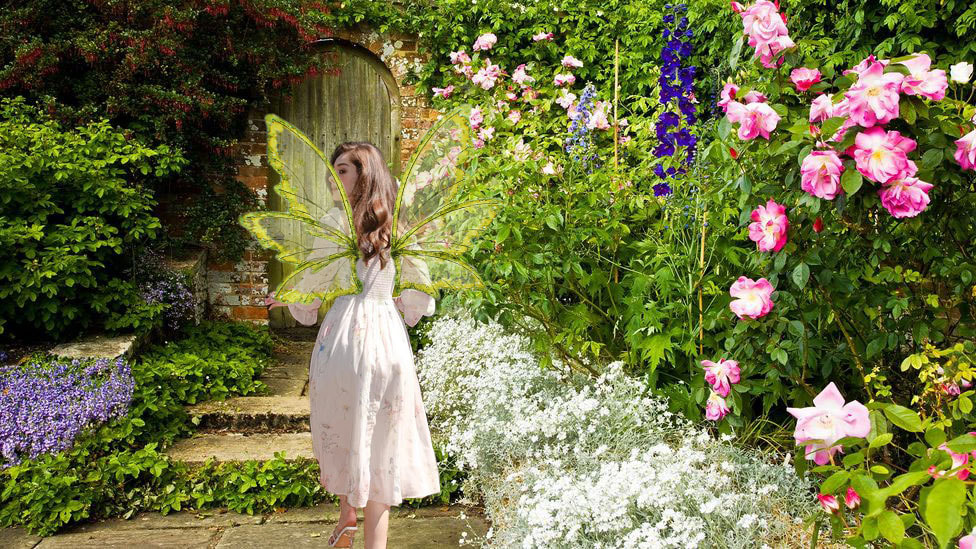
This fairy in the garden scene was composed of three separate images: the garden background, the woman in the dress, and the fairy wings. The masking assignment was to create a scene. I used the lasso tool to select the parts of the images I wanted to show, then went in with the pen tool to edit out any excess background. In order to get the wings to appear slightly transparent, I used grey instead of black and got a nice sheer look. I adjusted the saturation of the wings so they would appear bolder against the green background, also using the Feather tool to give them a more faded look.
Vignette
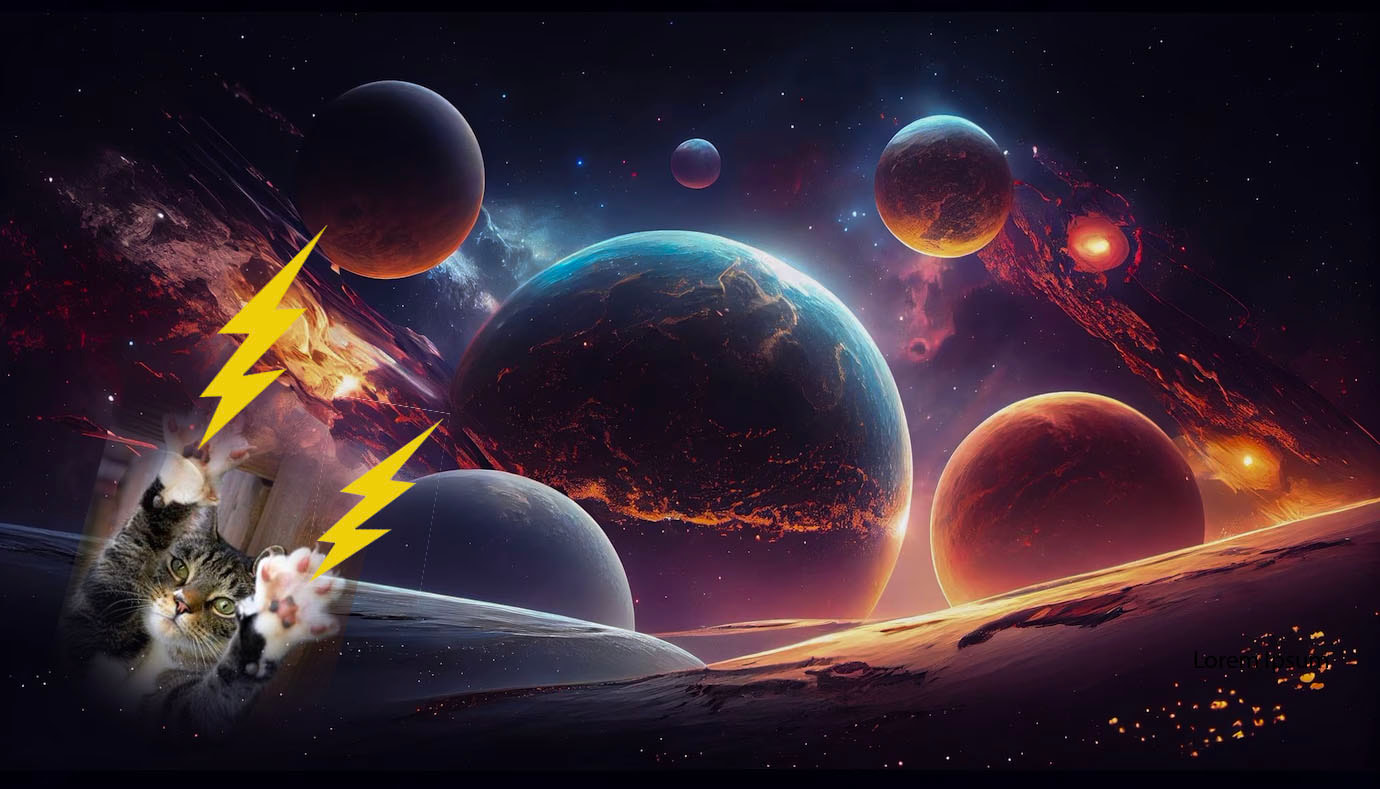
I began this project with the background and then placed the cat over top of it. I liked this project because of the creativity it allowed the students to use in order to create the scene. The tools I learned for this project were the Elliptical Marquee and the Feathering setting, both were used to fade out the cat from frame. this activity reinforced my knowledge of tools used in the last lesson by involving them with the movement and placement of items throughout the image.
PBM- Basic Modeling
I began this project working on the nut and bolt, and then continuing up in the order the shapes/objects were listed. I liked this project because it allowed me to learn something new and experiment with new skills. The easiest part of this project was definitely the first two objects I completed, the nut and bolt and the wine glass, I found that I could complete both of them in a single class period (50 minutes) and they were easy for my brain to understand the steps. The hardest section of this project was the screwdriver, it took me a while to figure out the instructions I was supposed to follow, and I ended up re-watching the video a bunch of times trying to make sense of it. I used some of the modifiers from past lessons, and the understanding of basic primitives while completing this project. This lesson can be used in the future while working on 3ds Max software as it provided useful information when it comes to creating complex structures without the hassle of stacking the basic primitives on top of each other.
